
让我们开始springboot-09 shiro的hello shiro教程。我们将从创建一个简单的maven项目开始,然后逐步搭建shiro环境。
首先,我们需要创建一个最基本的Maven项目。
接下来,我们需要在pom.xml中添加以下依赖:
<dependencies>
    <dependency>
        <groupId>org.apache.shiro</groupId>
        <artifactId>shiro-core</artifactId>
        <version>1.7.0</version>
    </dependency>
    <dependency>
        <groupId>org.slf4j</groupId>
        <artifactId>jcl-over-slf4j</artifactId>
        <version>2.0.0-alpha1</version>
    </dependency>
    <dependency>
        <groupId>org.slf4j</groupId>
        <artifactId>slf4j-log4j12</artifactId>
        <version>2.0.0-alpha1</version>
    </dependency>
    <dependency>
        <groupId>log4j</groupId>
        <artifactId>log4j</artifactId>
        <version>1.2.17</version>
    </dependency>
</dependencies>为了配置日志,我们需要创建log4j.properties文件:
log4j.rootLogger=INFO, stdout
log4j.appender.stdout=org.apache.log4j.ConsoleAppender
log4j.appender.stdout.layout=org.apache.log4j.PatternLayout
log4j.appender.stdout.layout.ConversionPattern=%d %p [%c] - %m %n
# General Apache libraries
log4j.logger.org.apache=WARN
# Spring
log4j.logger.org.springframework=WARN
# Default Shiro logging
log4j.logger.org.apache.shiro=INFO
# Disable verbose logging
log4j.logger.org.apache.shiro.util.ThreadContext=WARN
log4j.logger.org.apache.shiro.cache.ehcache.EhCache=WARN
创建shiro.ini文件来配置Shiro的用户和角色:
[users]
root = secret, admin
guest = guest, guest
presidentskroob = 12345, president
darkhelmet = ludicrousspeed, darklord, schwartz
lonestarr = vespa, goodguy, schwartz
<p>[roles]
admin = <em>
schwartz = lightsaber:</em>
goodguy = winnebago:drive:eagle5
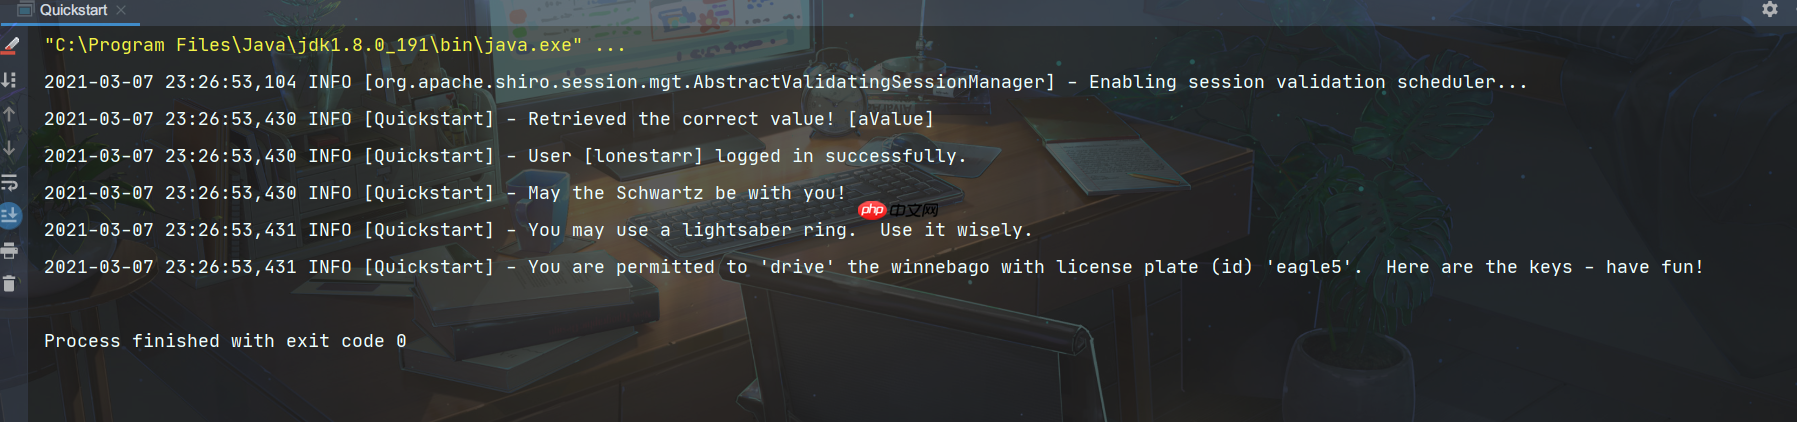
最后,我们创建一个Quickstart类来测试Shiro的功能:
import org.apache.shiro.SecurityUtils;
import org.apache.shiro.authc.*;
import org.apache.shiro.config.IniSecurityManagerFactory;
import org.apache.shiro.mgt.SecurityManager;
import org.apache.shiro.session.Session;
import org.apache.shiro.subject.Subject;
import org.apache.shiro.util.Factory;
import org.slf4j.Logger;
import org.slf4j.LoggerFactory;</p><p>public class Quickstart {
private static final transient Logger log = LoggerFactory.getLogger(Quickstart.class);</p><pre class="brush:php;toolbar:false;"><code>public static void main(String[] args) {
    // The easiest way to create a Shiro SecurityManager with configured
    // realms, users, roles and permissions is to use the simple INI config.
    // We'll do that by using a factory that can ingest a .ini file and
    // return a SecurityManager instance:
    // Use the shiro.ini file at the root of the classpath
    // (file: and url: prefixes load from files and urls respectively):
    Factory<SecurityManager> factory = new IniSecurityManagerFactory("classpath:shiro.ini");
    SecurityManager securityManager = factory.getInstance();

    // for this simple example quickstart, make the SecurityManager
    // accessible as a JVM singleton.  Most applications wouldn't do this
    // and instead rely on their container configuration or web.xml for
    // webapps.  That is outside the scope of this simple quickstart, so
    // we'll just do the bare minimum so you can continue to get a feel
    // for things.
    SecurityUtils.setSecurityManager(securityManager);

    // Now that a simple Shiro environment is set up, let's see what you can do:
    // get the currently executing user:
    Subject currentUser = SecurityUtils.getSubject();

    // Do some stuff with a Session (no need for a web or EJB container!!!)
    Session session = currentUser.getSession();
    session.setAttribute("someKey", "aValue");
    String value = (String) session.getAttribute("someKey");
    if (value.equals("aValue")) {
        log.info("Retrieved the correct value! [" + value + "]");
    }

    // let's login the current user so we can check against roles and permissions:
    if (!currentUser.isAuthenticated()) {
        UsernamePasswordToken token = new UsernamePasswordToken("lonestarr", "vespa");
        token.setRememberMe(true);
        try {
            currentUser.login(token);
        } catch (UnknownAccountException uae) {
            log.info("There is no user with username of " + token.getPrincipal());
        } catch (IncorrectCredentialsException ice) {
            log.info("Password for account " + token.getPrincipal() + " was incorrect!");
        } catch (LockedAccountException lae) {
            log.info("The account for username " + token.getPrincipal() + " is locked.  " +
                    "Please contact your administrator to unlock it.");
        }
        // ... catch more exceptions here (maybe custom ones specific to your application?
        catch (AuthenticationException ae) {
            //unexpected condition?  error?
        }
    }

    //say who they are:
    //print their identifying principal (in this case, a username):
    log.info("User [" + currentUser.getPrincipal() + "] logged in successfully.");

    //test a role:
    if (currentUser.hasRole("schwartz")) {
        log.info("May the Schwartz be with you!");
    } else {
        log.info("Hello, mere mortal.");
    }

    //test a typed permission (not instance-level)
    if (currentUser.isPermitted("lightsaber:wield")) {
        log.info("You may use a lightsaber ring.  Use it wisely.");
    } else {
        log.info("Sorry, lightsaber rings are for schwartz masters only.");
    }

    //a (very powerful) Instance Level permission:
    if (currentUser.isPermitted("winnebago:drive:eagle5")) {
        log.info("You are permitted to 'drive' the winnebago with license plate (id) 'eagle5'.  " +
                "Here are the keys - have fun!");
    } else {
        log.info("Sorry, you aren't allowed to drive the 'eagle5' winnebago!");
    }

    //all done - log out!
    currentUser.logout();

    System.exit(0);
}}
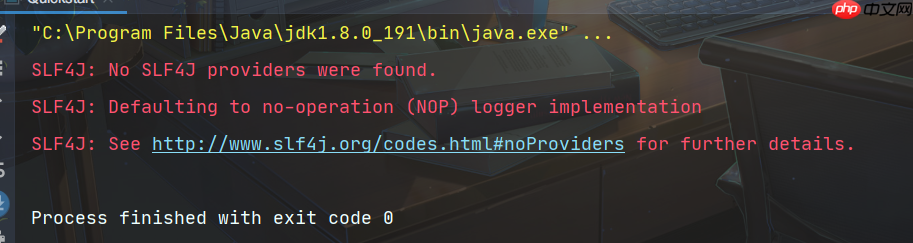
解决办法:
这是因为依赖中的问题。将以下依赖的scope标签删除:
<dependency>
<groupId>org.slf4j</groupId>
<artifactId>jcl-over-slf4j</artifactId>
<version>2.0.0-alpha1</version>
<!-- <scope>test</scope> -->
</dependency>
<dependency>
<groupId>org.slf4j</groupId>
<artifactId>slf4j-log4j12</artifactId>
<version>2.0.0-alpha1</version>
<!-- <scope>test</scope> -->
</dependency>
Shiro环境搭建
Shiro环境搭建需要三个要素:
我们需要倒着来创建。
创建config文件夹和ShiroConfig、UserRealm类
首先,创建UserRealm类:
public class UserRealm extends AuthorizingRealm {
// 授权
@Override
protected AuthorizationInfo doGetAuthorizationInfo(PrincipalCollection principalCollection) {
return null;
}</p><pre class="brush:php;toolbar:false;"><code>//认证
@Override
protected AuthenticationInfo doGetAuthenticationInfo(AuthenticationToken authenticationToken) throws AuthenticationException {
    return null;
}}
然后,创建ShiroConfig类:
@Configuration
public class ShiroConfig {
//ShiroFilterFactoryBean
@Bean
public ShiroFilterFactoryBean shiroFilterFactoryBean(@Qualifier("defaultWebSecurityManager") DefaultWebSecurityManager defaultWebSecurityManager){
ShiroFilterFactoryBean bean = new ShiroFilterFactoryBean();
//设置安全管理器
bean.setSecurityManager(defaultWebSecurityManager);
return bean;
}</p><pre class="brush:php;toolbar:false;"><code>//DefaultWebSecurityManager
@Bean
public DefaultWebSecurityManager defaultWebSecurityManager(@Qualifier("userRealm") UserRealm userRealm){
    DefaultWebSecurityManager securityManager = new DefaultWebSecurityManager();
    securityManager.setRealm(userRealm);
    return securityManager;
}

//创建 realm 对象
@Bean
public UserRealm userRealm(){
    return new UserRealm();
}}
这样,我们就完成了SpringBoot-09 Shiro的Hello Shiro教程的基本步骤。接下来,您可以根据需要进一步扩展和配置Shiro的功能。
以上就是SpringBoot-09 Shiro的详细内容,更多请关注php中文网其它相关文章!

每个人都需要一台速度更快、更稳定的 PC。随着时间的推移,垃圾文件、旧注册表数据和不必要的后台进程会占用资源并降低性能。幸运的是,许多工具可以让 Windows 保持平稳运行。

 广告
广告Copyright 2014-2025 https://www.php.cn/ All Rights Reserved | php.cn | 湘ICP备2023035733号


 603
603