安装exchange服务器前,必须先在服务器上配置必要的windows角色和功能,并重启服务器。
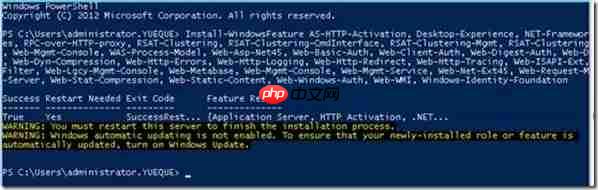
使用以下PowerShell命令安装所需功能:
Install-WindowsFeature RSAT-ADDS,AS-HTTP-Activation, Desktop-Experience, NET-Framework-45-Features, RPC-over-HTTP-proxy, RSAT-Clustering, RSAT-Clustering-CmdInterface, RSAT-Clustering-Mgmt, RSAT-Clustering-PowerShell, Web-Mgmt-Console, WAS-Process-Model, Web-Asp-Net45, Web-Basic-Auth, Web-Client-Auth, Web-Digest-Auth, Web-Dir-Browsing, Web-Dyn-Compression, Web-Http-Errors, Web-Http-Logging, Web-Http-Redirect, Web-Http-Tracing, Web-ISAPI-Ext, Web-ISAPI-Filter, Web-Lgcy-Mgmt-Console, Web-Metabase, Web-Mgmt-Console, Web-Mgmt-Service, Web-Net-Ext45, Web-Request-Monitor, Web-Server, Web-Stat-Compression, Web-Static-Content, Web-Windows-Auth, Web-WMI, Windows-Identity-Foundation
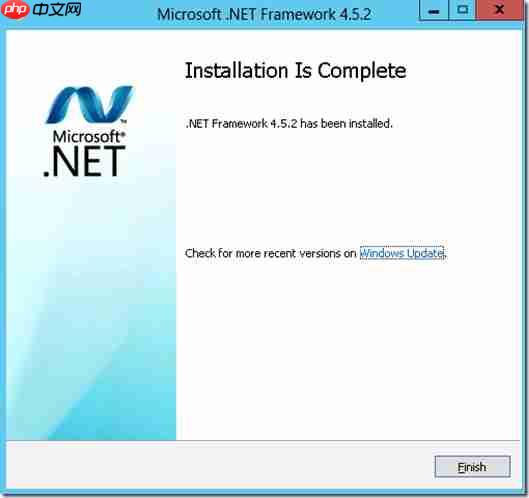
随后,下载并安装.NET Framework 4.5.2:
https://www.php.cn/link/ea40a57310aa704ffa9e45bfb38d913e
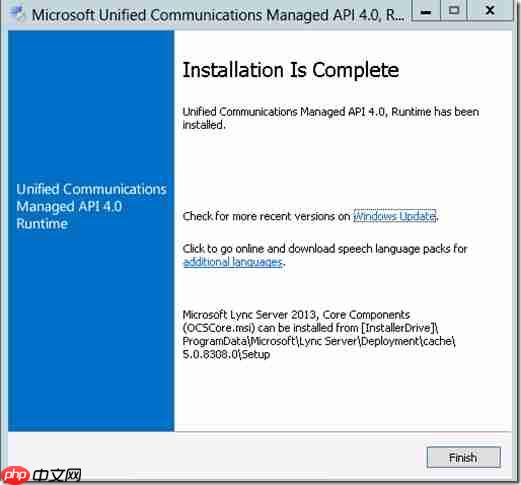
再下载并安装Unified Communications Managed API 4.0 Runtime:
https://www.php.cn/link/3b2570d084283629e1d02cc8a37bceb7
接下来,扩展Active Directory:
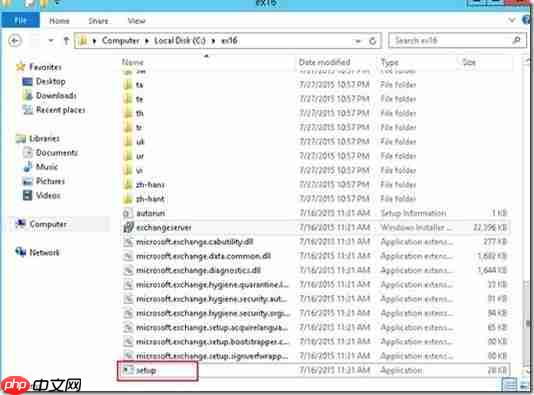
解压Exchange 2016文件。
进入Exchange安装目录,扩展Active Directory架构:
Setup.exe /PrepareSchema /IAcceptExchangeServerLicenseTerms

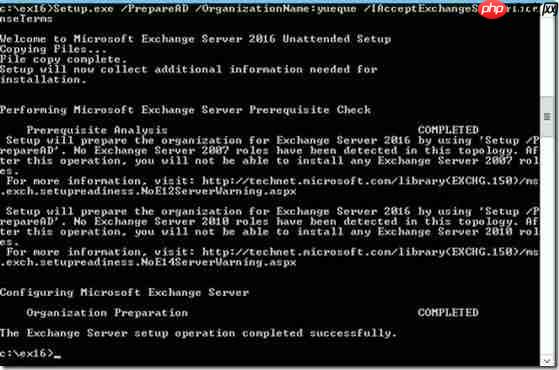
准备Active Directory:
Setup.exe /PrepareAD /OrganizationName:"<organization>" /IAcceptExchangeServerLicenseTerms
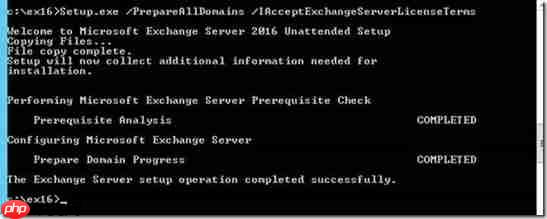
准备Active Directory林中的所有域:
Setup.exe /PrepareAllDomains /IAcceptExchangeServerLicenseTerms
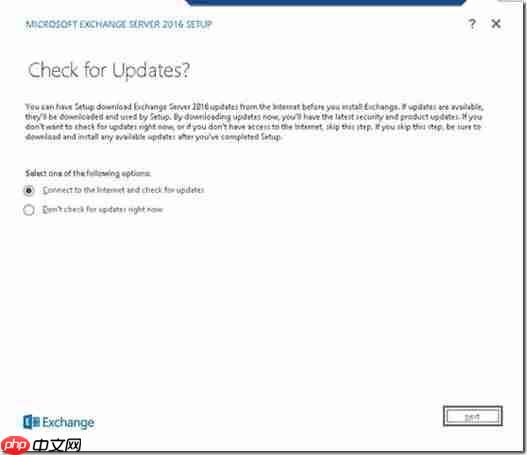
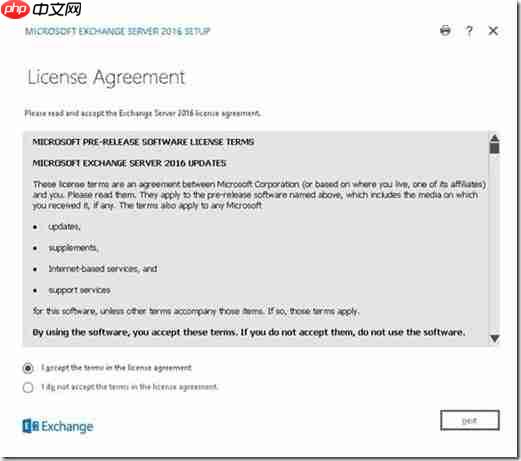
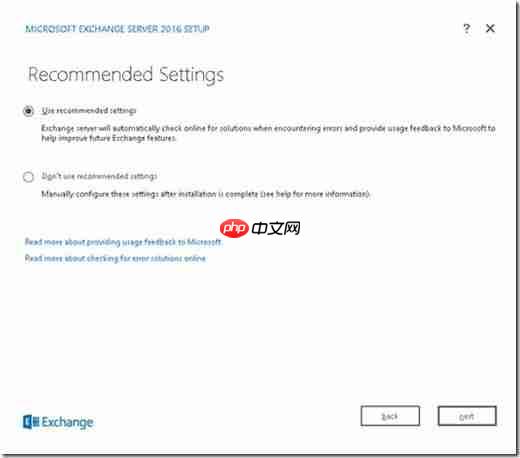
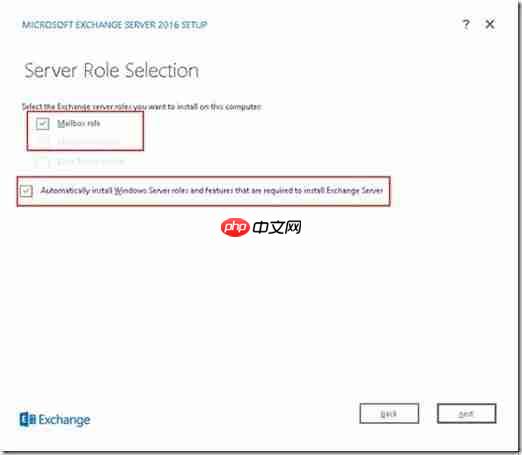
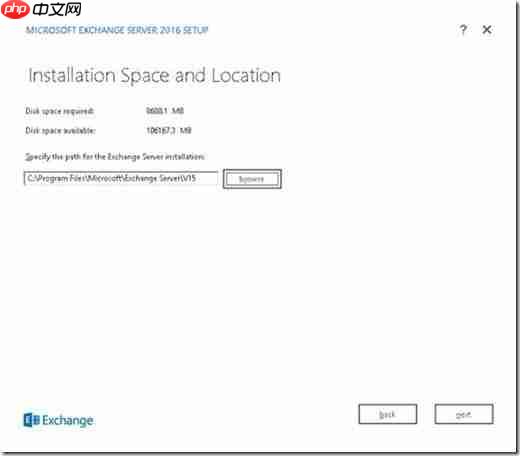
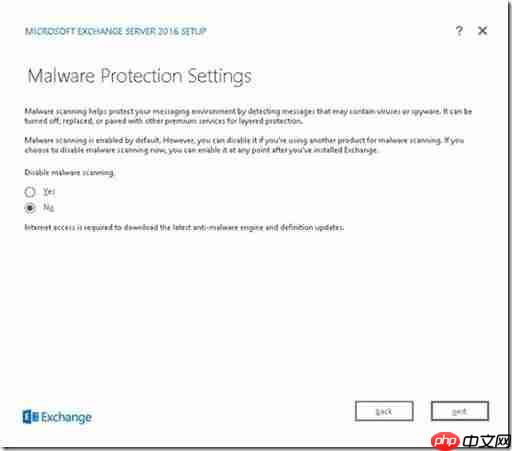
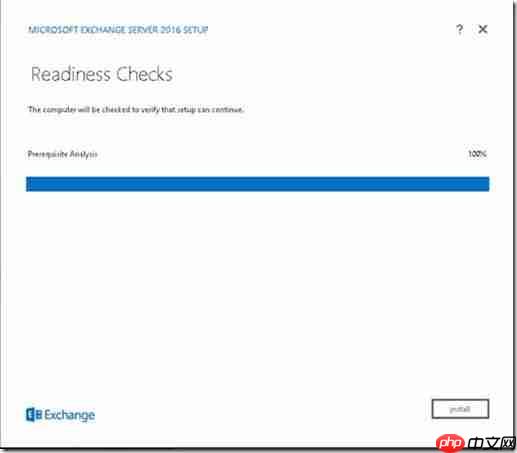
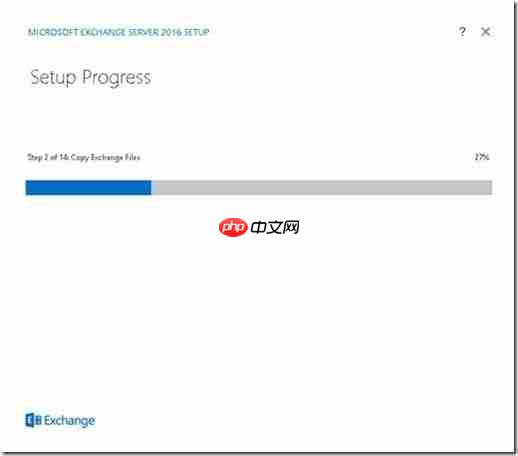
双击“setup”文件,开始安装Exchange,安装过程的截图如下:

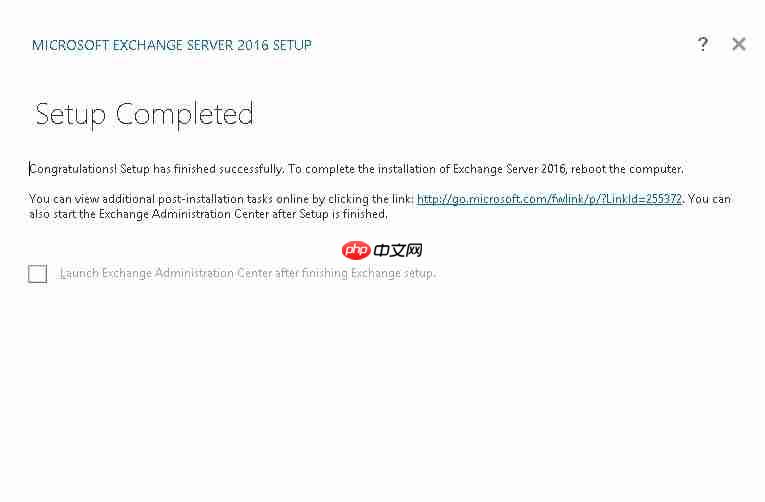
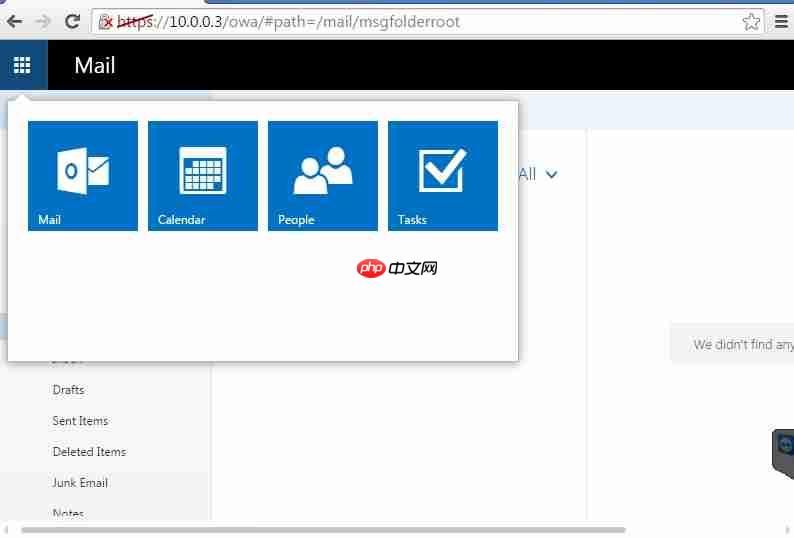
安装完成后,登录OWA查看Exchange的新功能:
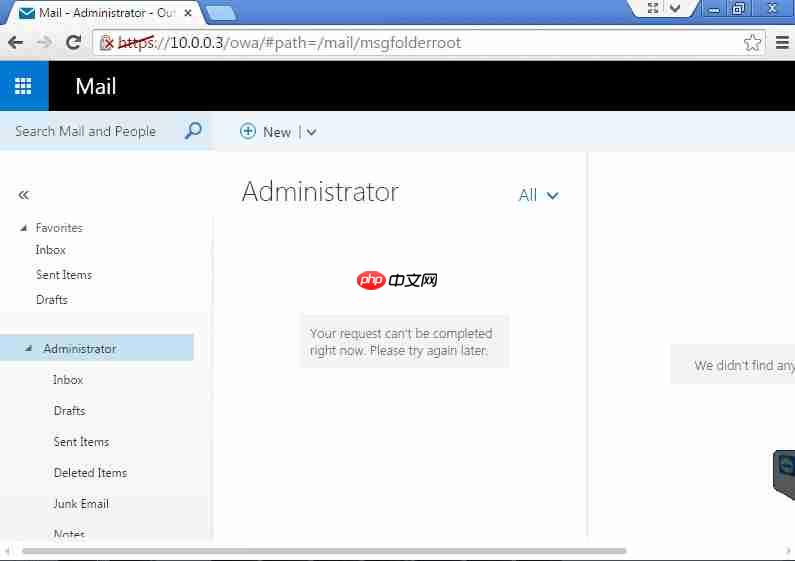
在左上角的图标下,可以看到邮件、日历、联系人、任务等选项。
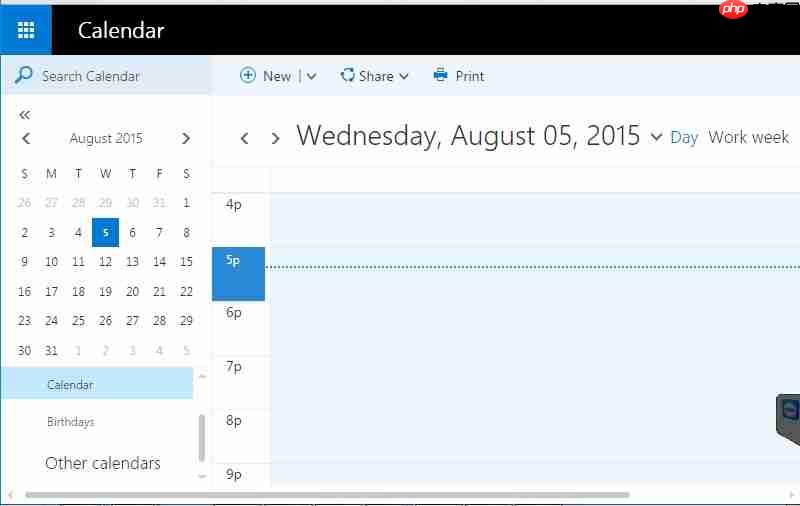
日历功能:
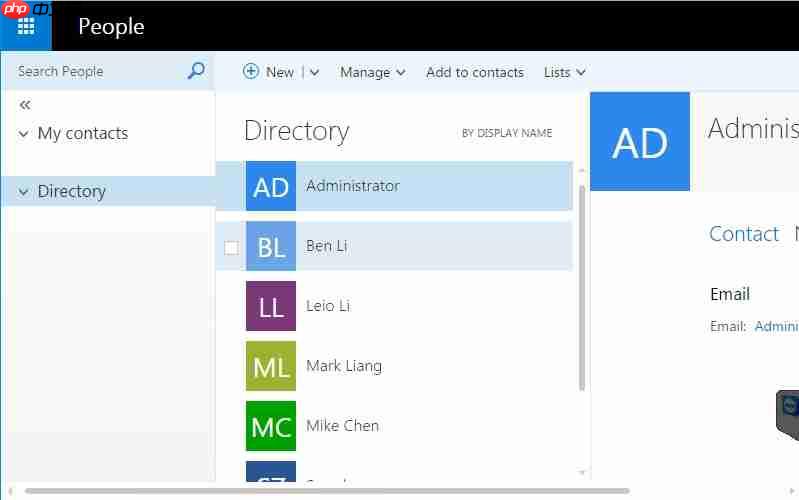
联系人功能增加了简写和颜色选项:
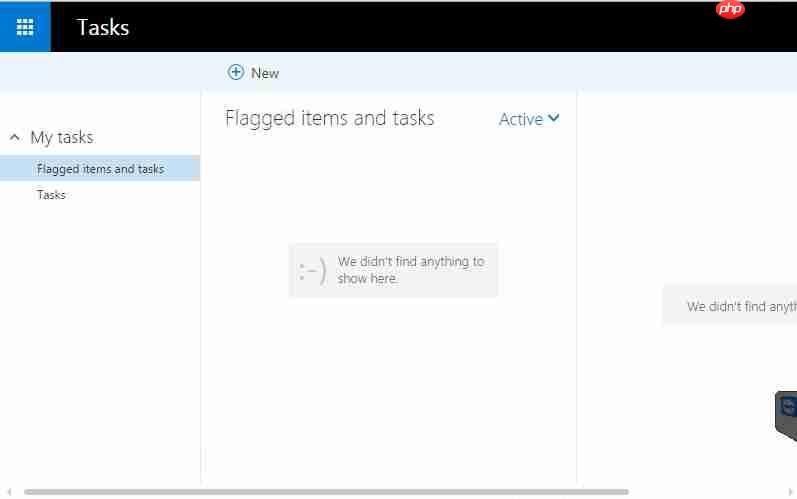
任务功能:
以上就是Exchange2016-抢先体验的详细内容,更多请关注php中文网其它相关文章!

每个人都需要一台速度更快、更稳定的 PC。随着时间的推移,垃圾文件、旧注册表数据和不必要的后台进程会占用资源并降低性能。幸运的是,许多工具可以让 Windows 保持平稳运行。

 广告
广告Copyright 2014-2025 https://www.php.cn/ All Rights Reserved | php.cn | 湘ICP备2023035733号


 688
688