
一、环境介绍
操作系统:ubuntu18.04 X64位 和 嵌入式Linux操作(ARM)
二、功能介绍
通过Linux下标准V4L2框架采集摄像头的数据,通过jpeglib库连续编码为JPG格式图片存放到本地。
三、安装jpeglib库
jpeglib下载地址:http://www.ijg.org/
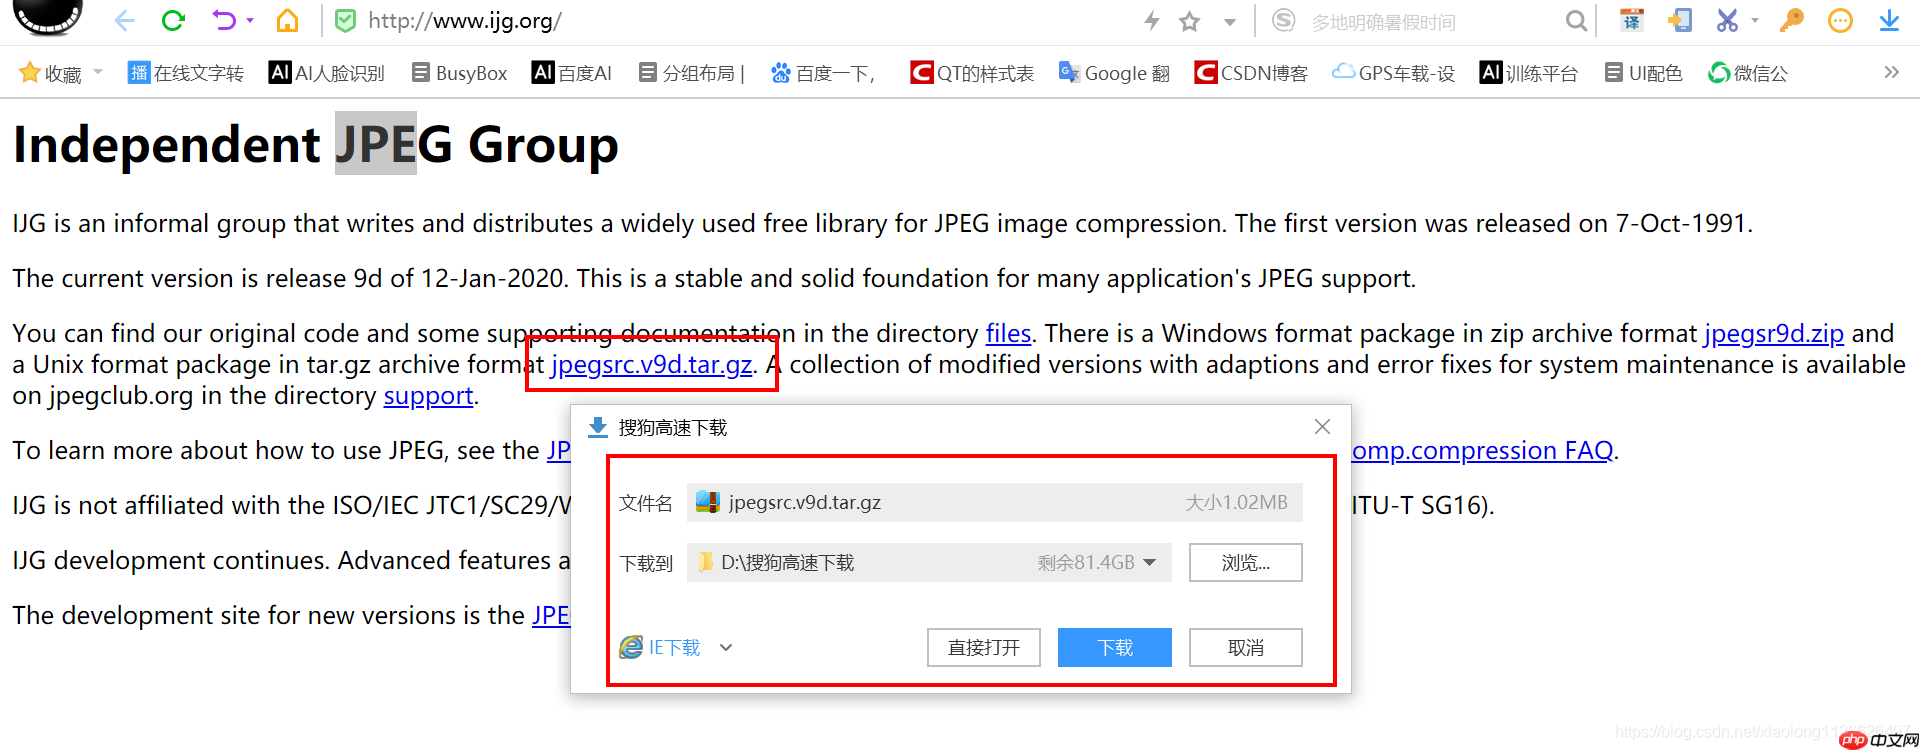
下载之后解压到linux指定目录下,进行接解压、编译。
代码语言:javascript代码运行次数:0运行复制<code class="javascript">wbyq@wbyq:~/work_pc$ tar xvf /mnt/hgfs/linux-share-dir/jpegsrc.v9d.tar.gzwbyq@wbyq:~/work_pc$ cd jpeg-9d/wbyq@wbyq:~/work_pc/jpeg-9d$ ./configure wbyq@wbyq:~/work_pc/jpeg-9d$ makewbyq@wbyq:~/work_pc/jpeg-9d$ sudo make install[sudo] wbyq 的密码: make[1]: 进入目录“/home/wbyq/work_pc/jpeg-9d” /bin/mkdir -p '/usr/local/lib' /bin/bash ./libtool --mode=install /usr/bin/install -c libjpeg.la '/usr/local/lib'libtool: install: /usr/bin/install -c .libs/libjpeg.so.9.4.0 /usr/local/lib/libjpeg.so.9.4.0libtool: install: (cd /usr/local/lib && { ln -s -f libjpeg.so.9.4.0 libjpeg.so.9 || { rm -f libjpeg.so.9 && ln -s libjpeg.so.9.4.0 libjpeg.so.9; }; })libtool: install: (cd /usr/local/lib && { ln -s -f libjpeg.so.9.4.0 libjpeg.so || { rm -f libjpeg.so && ln -s libjpeg.so.9.4.0 libjpeg.so; }; })libtool: install: /usr/bin/install -c .libs/libjpeg.lai /usr/local/lib/libjpeg.lalibtool: install: /usr/bin/install -c .libs/libjpeg.a /usr/local/lib/libjpeg.alibtool: install: chmod 644 /usr/local/lib/libjpeg.alibtool: install: ranlib /usr/local/lib/libjpeg.alibtool: finish: PATH="/usr/local/sbin:/usr/local/bin:/usr/sbin:/usr/bin:/sbin:/bin:/snap/bin:/sbin" ldconfig -n /usr/local/lib----------------------------------------------------------------------Libraries have been installed in: /usr/local/libIf you ever happen to want to link against installed librariesin a given directory, LIBDIR, you must either use libtool, andspecify the full pathname of the library, or use the '-LLIBDIR'flag during linking and do at least one of the following: - add LIBDIR to the 'LD_LIBRARY_PATH' environment variable during execution - add LIBDIR to the 'LD_RUN_PATH' environment variable during linking - use the '-Wl,-rpath -Wl,LIBDIR' linker flag - have your system administrator add LIBDIR to '/etc/ld.so.conf'See any operating system documentation about shared libraries formore information, such as the ld(1) and ld.so(8) manual pages.---------------------------------------------------------------------- /bin/mkdir -p '/usr/local/bin' /bin/bash ./libtool --mode=install /usr/bin/install -c cjpeg djpeg jpegtran rdjpgcom wrjpgcom '/usr/local/bin'libtool: install: /usr/bin/install -c .libs/cjpeg /usr/local/bin/cjpeglibtool: install: /usr/bin/install -c .libs/djpeg /usr/local/bin/djpeglibtool: install: /usr/bin/install -c .libs/jpegtran /usr/local/bin/jpegtranlibtool: install: /usr/bin/install -c rdjpgcom /usr/local/bin/rdjpgcomlibtool: install: /usr/bin/install -c wrjpgcom /usr/local/bin/wrjpgcom/bin/bash /home/wbyq/work_pc/jpeg-9d/install-sh -d /usr/local/include/usr/bin/install -c -m 644 jconfig.h /usr/local/include/jconfig.h /bin/mkdir -p '/usr/local/include' /usr/bin/install -c -m 644 jerror.h jmorecfg.h jpeglib.h '/usr/local/include' /bin/mkdir -p '/usr/local/share/man/man1' /usr/bin/install -c -m 644 cjpeg.1 djpeg.1 jpegtran.1 rdjpgcom.1 wrjpgcom.1 '/usr/local/share/man/man1' /bin/mkdir -p '/usr/local/lib/pkgconfig' /usr/bin/install -c -m 644 libjpeg.pc '/usr/local/lib/pkgconfig'make[1]: 离开目录“/home/wbyq/work_pc/jpeg-9d”</code>默认的安装路径在/usr/local/lib/ 目录下。
如果是编译给嵌入式Linux平台使用可以按照下面方法配置:
代码语言:javascript代码运行次数:0运行复制<code class="javascript">./configure --prefix=/usr/local/lib CC=arm-linux-gcc --host=arm-linux --enable-shared --enable-static</code>
四、核心代码
video_app.c : 摄像头采集的主要代码
代码语言:javascript代码运行次数:0运行复制<code class="javascript">#include <stdio.h>#include <sys/ioctl.h>#include <linux/videodev2.h>#include <string.h>#include <sys/types.h>#include <sys/stat.h>#include <fcntl.h>#include <sys/mman.h>#include <poll.h>#include <stdlib.h>#include "yuv_to_jpeg.h"int image_height;int image_width;unsigned char *image_buffer[4];int uvc_video_fd;/*函数功能: 摄像头设备初始化*/int VideoDeviceInit(char *DEVICE_NAME){/*1. 打开摄像头设备*/uvc_video_fd=open(DEVICE_NAME,O_RDWR);if(uvc_video_fd<0){printf("%s 摄像头设备打开失败!\n",DEVICE_NAME);return -1;}else{printf("摄像头打开成功.\n");}/*2 设置摄像头的属性*/struct v4l2_format format;/*2.1 查询当前摄像头支持的格式*///当前视频设备支持的视频图像格式struct v4l2_fmtdesc fmt;memset(&fmt,0,sizeof(fmt));fmt.index = 0;fmt.type = V4L2_BUF_TYPE_VIDEO_CAPTURE;printf("当前摄像头支持输出的图像格式如下:\n");while(ioctl(uvc_video_fd,VIDIOC_ENUM_FMT,&fmt) == 0){fmt.index ++ ;printf("<'%c%c%c%c'--'%s'>\n",fmt.pixelformat & 0xff,(fmt.pixelformat >> 8)&0xff,(fmt.pixelformat >> 16) & 0xff,(fmt.pixelformat >> 24)&0xff,fmt.description);}/*2.2 设置摄像头输出的宽度高度与颜色格式(V4L2_PIX_FMT_YUYV)*/memset(&format,0,sizeof(struct v4l2_format));format.type=V4L2_BUF_TYPE_VIDEO_CAPTURE; /*表示视频捕获设备*/format.fmt.pix.width=2000; /*预设的宽度*/format.fmt.pix.height=2000; /*预设的高度*/format.fmt.pix.pixelformat=V4L2_PIX_FMT_YUYV; /*预设的格式*/format.fmt.pix.field=V4L2_FIELD_ANY; /*系统自动设置: 帧属性*/if(ioctl(uvc_video_fd,VIDIOC_S_FMT,&format)) /*设置摄像头的属性*/{printf("摄像头格式设置失败!\n");return -2;}image_width=format.fmt.pix.width;image_height=format.fmt.pix.height;printf("摄像头实际输出的图像尺寸:x=%d,y=%d\n",format.fmt.pix.width,format.fmt.pix.height);if(format.fmt.pix.pixelformat==V4L2_PIX_FMT_YUYV){printf("当前摄像头支持YUV格式图像输出!\n");}else{printf("当前摄像头不支持YUV格式图像输出!\n");return -3;}/*2.3 设置摄像头采集的帧率*/struct v4l2_streamparm streamparm;streamparm.type=V4L2_BUF_TYPE_VIDEO_CAPTURE; /*表示视频捕获设备*/streamparm.parm.capture.timeperframe.numerator=1;streamparm.parm.capture.timeperframe.denominator=30;printf("设置当前摄像头采集帧率: %d秒%d帧\n",streamparm.parm.capture.timeperframe.numerator,streamparm.parm.capture.timeperframe.denominator);if(ioctl(uvc_video_fd,VIDIOC_S_PARM,&streamparm)) /*设置摄像头的帧率*/{printf("设置摄像头采集的帧率失败!\n");return -3;}if(ioctl(uvc_video_fd,VIDIOC_S_PARM,&streamparm)) /*获取摄像头的帧率*/{printf("获取摄像头采集的帧率失败!\n");return -3;}printf("当前摄像头实际采集帧率: %d秒%d帧\n",streamparm.parm.capture.timeperframe.numerator,streamparm.parm.capture.timeperframe.denominator);/*3. 请求缓冲区: 申请摄像头数据采集的缓冲区*/struct v4l2_requestbuffers req_buff;memset(&req_buff,0,sizeof(struct v4l2_requestbuffers));req_buff.count=4; /*预设要申请4个缓冲区*/req_buff.type=V4L2_BUF_TYPE_VIDEO_CAPTURE; /*视频捕获设备*/req_buff.memory=V4L2_MEMORY_MMAP; /*支持mmap内存映射*/if(ioctl(uvc_video_fd,VIDIOC_REQBUFS,&req_buff)) /*申请缓冲区*/{printf("申请摄像头数据采集的缓冲区失败!\n");return -4;}printf("摄像头缓冲区申请的数量: %d\n",req_buff.count);/*4. 获取缓冲区的详细信息: 地址,编号*/struct v4l2_buffer buff_info;memset(&buff_info,0,sizeof(struct v4l2_buffer));int i;for(i=0;i<req_buff.count;i++){buff_info.type=V4L2_BUF_TYPE_VIDEO_CAPTURE; /*视频捕获设备*/buff_info.memory=V4L2_MEMORY_MMAP; /*支持mmap内存映射*/if(ioctl(uvc_video_fd,VIDIOC_QUERYBUF,&buff_info)) /*获取缓冲区的详细信息*/{printf("获取缓冲区的详细信息失败!\n");return -5;}/*根据摄像头申请缓冲区信息: 使用mmap函数将内核的地址映射到进程空间*/image_buffer[i]=mmap(NULL,buff_info.length,PROT_READ|PROT_WRITE,MAP_SHARED,uvc_video_fd,buff_info.m.offset); if(image_buffer[i]==NULL){printf("缓冲区映射失败!\n");return -6;}}/*5. 将缓冲区放入采集队列*/memset(&buff_info,0,sizeof(struct v4l2_buffer));for(i=0;i<req_buff.count;i++){buff_info.type=V4L2_BUF_TYPE_VIDEO_CAPTURE; /*视频捕获设备*/buff_info.index=i; /*缓冲区的节点编号*/buff_info.memory=V4L2_MEMORY_MMAP; /*支持mmap内存映射*/if(ioctl(uvc_video_fd,VIDIOC_QBUF,&buff_info)) /*根据节点编号将缓冲区放入队列*/{printf("根据节点编号将缓冲区放入队列失败!\n");return -7;}}/*6. 启动摄像头数据采集*/int Type=V4L2_BUF_TYPE_VIDEO_CAPTURE;if(ioctl(uvc_video_fd,VIDIOC_STREAMON,&Type)){printf("启动摄像头数据采集失败!\n");return -8;}return 0;}int main(int argc,char **argv){if(argc!=2){printf("./app </dev/videoX>\n");return 0;}int err;char jpg_file_name[100]; /*存放JPG图片名称*/int jpg_cnt=0;FILE *jpg_file;int jpg_size;/*1. 初始化摄像头设备*/err=VideoDeviceInit(argv[1]);printf("VideoDeviceInit=%d\n",err);/*2. 循环读取摄像头采集的数据*/struct pollfd fds;fds.fd=uvc_video_fd;fds.events=POLLIN;/*3. 申请存放JPG的数据空间*/unsigned char *jpg_p=malloc(image_height*image_width*3);struct v4l2_buffer video_buffer;while(1){ /*(1)等待摄像头采集数据*/ poll(&fds,1,-1); /*(2)取出队列里采集完毕的缓冲区*/ video_buffer.type=V4L2_BUF_TYPE_VIDEO_CAPTURE; /*视频捕获设备*/ video_buffer.memory=V4L2_MEMORY_MMAP; ioctl(uvc_video_fd,VIDIOC_DQBUF,&video_buffer); /*(3)处理图像数据*/ printf("image_buffer[%d]=%X\n",video_buffer.index,image_buffer[video_buffer.index]); /*YUV数据转JPEG格式*/ jpg_size=yuv_to_jpeg(image_width,image_height,image_height*image_width*3,image_buffer[video_buffer.index],jpg_p,80); sprintf(jpg_file_name,"%d.jpg",jpg_cnt++); printf("图片名称:%s,字节大小:%d\n",jpg_file_name,jpg_size); jpg_file=fopen(jpg_file_name,"wb"); fwrite(jpg_p,1,jpg_size,jpg_file); fclose(jpg_file); /*(4)将缓冲区再放入队列*/ ioctl(uvc_video_fd,VIDIOC_QBUF,&video_buffer);}return 0;}</code>yuv_to_jpg.c : YUV格式图片转JPG格式图片核心代码
代码语言:javascript代码运行次数:0运行复制<code class="javascript">#include "yuv_to_jpeg.h"#define OUTPUT_BUF_SIZE 4096typedef struct { struct jpeg_destination_mgr pub; /* public fields */ JOCTET * buffer; /* start of buffer */ unsigned char *outbuffer; int outbuffer_size; unsigned char *outbuffer_cursor; int *written;} mjpg_destination_mgr;typedef mjpg_destination_mgr *mjpg_dest_ptr;/******************************************************************************函数功能: 初始化输出的目的地******************************************************************************/METHODDEF(void) init_destination(j_compress_ptr cinfo) { mjpg_dest_ptr dest = (mjpg_dest_ptr) cinfo->dest; /* Allocate the output buffer --- it will be released when done with image */ dest->buffer = (JOCTET *)(*cinfo->mem->alloc_small) ((j_common_ptr) cinfo, JPOOL_IMAGE, OUTPUT_BUF_SIZE * sizeof(JOCTET)); *(dest->written) = 0; dest->pub.next_output_byte = dest->buffer; dest->pub.free_in_buffer = OUTPUT_BUF_SIZE;}/******************************************************************************函数功能: 当jpeg缓冲区填满时调用******************************************************************************/METHODDEF(boolean) empty_output_buffer(j_compress_ptr cinfo) { mjpg_dest_ptr dest = (mjpg_dest_ptr) cinfo->dest; memcpy(dest->outbuffer_cursor, dest->buffer, OUTPUT_BUF_SIZE); dest->outbuffer_cursor += OUTPUT_BUF_SIZE; *(dest->written) += OUTPUT_BUF_SIZE; dest->pub.next_output_byte = dest->buffer; dest->pub.free_in_buffer = OUTPUT_BUF_SIZE; return TRUE;}/******************************************************************************函数功能:在写入所有数据之后,由jpeg_finish_compress调用。通常需要刷新缓冲区。******************************************************************************/METHODDEF(void) term_destination(j_compress_ptr cinfo) { mjpg_dest_ptr dest = (mjpg_dest_ptr) cinfo->dest; size_t datacount = OUTPUT_BUF_SIZE - dest->pub.free_in_buffer; /* Write any data remaining in the buffer */ memcpy(dest->outbuffer_cursor, dest->buffer, datacount); dest->outbuffer_cursor += datacount; *(dest->written) += datacount;}/******************************************************************************功能描述:初始化输出流函数参数:j_compress_ptr cinfo :保存JPG图像压缩信息的结构体地址unsigned char *buffer :存放压缩之后的JPG图片的缓冲区首地址int size :源图像字节总大小int *written :存放压缩之后的JPG图像字节大小******************************************************************************/GLOBAL(void) dest_buffer(j_compress_ptr cinfo, unsigned char *buffer, int size, int *written){ mjpg_dest_ptr dest; if (cinfo->dest == NULL) { cinfo->dest = (struct jpeg_destination_mgr *)(*cinfo->mem->alloc_small) ((j_common_ptr) cinfo, JPOOL_PERMANENT, sizeof(mjpg_destination_mgr)); } dest = (mjpg_dest_ptr) cinfo->dest; dest->pub.init_destination = init_destination; dest->pub.empty_output_buffer = empty_output_buffer; dest->pub.term_destination = term_destination; dest->outbuffer = buffer; dest->outbuffer_size = size; dest->outbuffer_cursor = buffer; dest->written = written;}/************************************************功能描述:将YUV格式的数据转为JPG格式。函数参数:int Width 源图像宽度int Height 源图像高度int size 源图像字节总大小unsigned char *yuv_buffer :存放YUV源图像数据缓冲区的首地址unsigned char *jpg_buffer :存放转换之后的JPG格式数据缓冲区首地址int quality :jpg图像的压缩质量(值越大质量越好,图片就越清晰,占用的内存也就越大)一般取值范围是: 10 ~ 100 。 填10图片就有些模糊了,一般的JPG图片都是质量都是80。返回值:压缩之后的JPG图像大小**************************************************************/int yuv_to_jpeg(int Width,int Height,int size,unsigned char *yuv_buffer, unsigned char *jpg_buffer, int quality) { struct jpeg_compress_struct cinfo; struct jpeg_error_mgr jerr; JSAMPROW row_pointer[1]; unsigned char *line_buffer, *yuyv; int z; static int written; /*1. 解压之前的初始化*/ line_buffer =(unsigned char *)calloc(Width*3,1); yuyv=yuv_buffer; //得到图像源数据 cinfo.err = jpeg_std_error (&jerr); jpeg_create_compress (&cinfo); /* 原版jpeglib库的标准输出初始化函数,只能填文件指针: jpeg_stdio_dest (&cinfo, file); */ /* 修改之后的标准输出初始化函数,将输出指向内存空间*/ dest_buffer(&cinfo, jpg_buffer, size, &written); cinfo.image_width = Width; cinfo.image_height =Height; cinfo.input_components = 3; cinfo.in_color_space = JCS_RGB; jpeg_set_defaults (&cinfo); jpeg_set_quality (&cinfo, quality, TRUE); jpeg_start_compress (&cinfo, TRUE); /*2. YUV转RGB格式*/ z = 0; while (cinfo.next_scanline < Height) { int x; unsigned char *ptr = line_buffer; for (x = 0; x < Width; x++) { int r, g, b; int y, u, v; if (!z) y = yuyv[0] << 8; else y = yuyv[2] << 8; u = yuyv[1] - 128; v = yuyv[3] - 128; r = (y + (359 * v)) >> 8; g = (y - (88 * u) - (183 * v)) >> 8; b = (y + (454 * u)) >> 8; *(ptr++) = (r > 255) ? 255 : ((r < 0) ? 0 : r); *(ptr++) = (g > 255) ? 255 : ((g < 0) ? 0 : g); *(ptr++) = (b > 255) ? 255 : ((b < 0) ? 0 : b); if (z++) { z = 0; yuyv += 4; } }/*3.进行JPG图像压缩(一行一行压缩)*/ row_pointer[0] = line_buffer; jpeg_write_scanlines(&cinfo, row_pointer, 1); } /*4. 释放压缩时占用的内存空间*/ jpeg_finish_compress(&cinfo); jpeg_destroy_compress(&cinfo); free (line_buffer); /*5. 返回压缩之后JPG图片大小*/ return (written);}</code>yuv_to_jpg.h : YUV转JPG代码的头文件
代码语言:javascript代码运行次数:0运行复制<code class="javascript">#ifndef YUC_TO_JPEG_H#define YUC_TO_JPEG_H#include <stdio.h>#include <jpeglib.h>#include <stdlib.h>#include <string.h>int yuv_to_jpeg(int Width,int Height,int size,unsigned char *yuv_buffer, unsigned char *jpg_buffer, int quality);#endif</code>
Makefile 文件代码:
代码语言:javascript代码运行次数:0运行复制<code class="javascript">all:gcc video_app.c yuv_to_jpeg.c -o app -ljpeg</code>
五、编译运行-测试效果
如果运行时提示找不到库,可以先搜索库的路径,将库的路径加入到环境变量里即可:
error while loading shared libraries: libjpeg.so.9: cannot open shared object file: No such file or directory
代码语言:javascript代码运行次数:0运行复制<code class="javascript">wbyq@wbyq:/mnt/hgfs/linux-share-dir/linux_c/yuv_save_jpg$ ./app ./app: error while loading shared libraries: libjpeg.so.9: cannot open shared object file: No such file or directorywbyq@wbyq:/mnt/hgfs/linux-share-dir/linux_c/yuv_save_jpg$ sudo find / -name libjpeg.so.9find: ‘/run/user/1000/gvfs’: 权限不够/home/wbyq/work_pc/jpeg-9d/.libs/libjpeg.so.9/usr/local/lib/libjpeg.so.9wbyq@wbyq:/mnt/hgfs/linux-share-dir/linux_c/yuv_save_jpg$ export LD_LIBRARY_PATH=$LD_LIBRARY_PATH:/usr/local/lib/</code>
编译程序运行步骤如下:
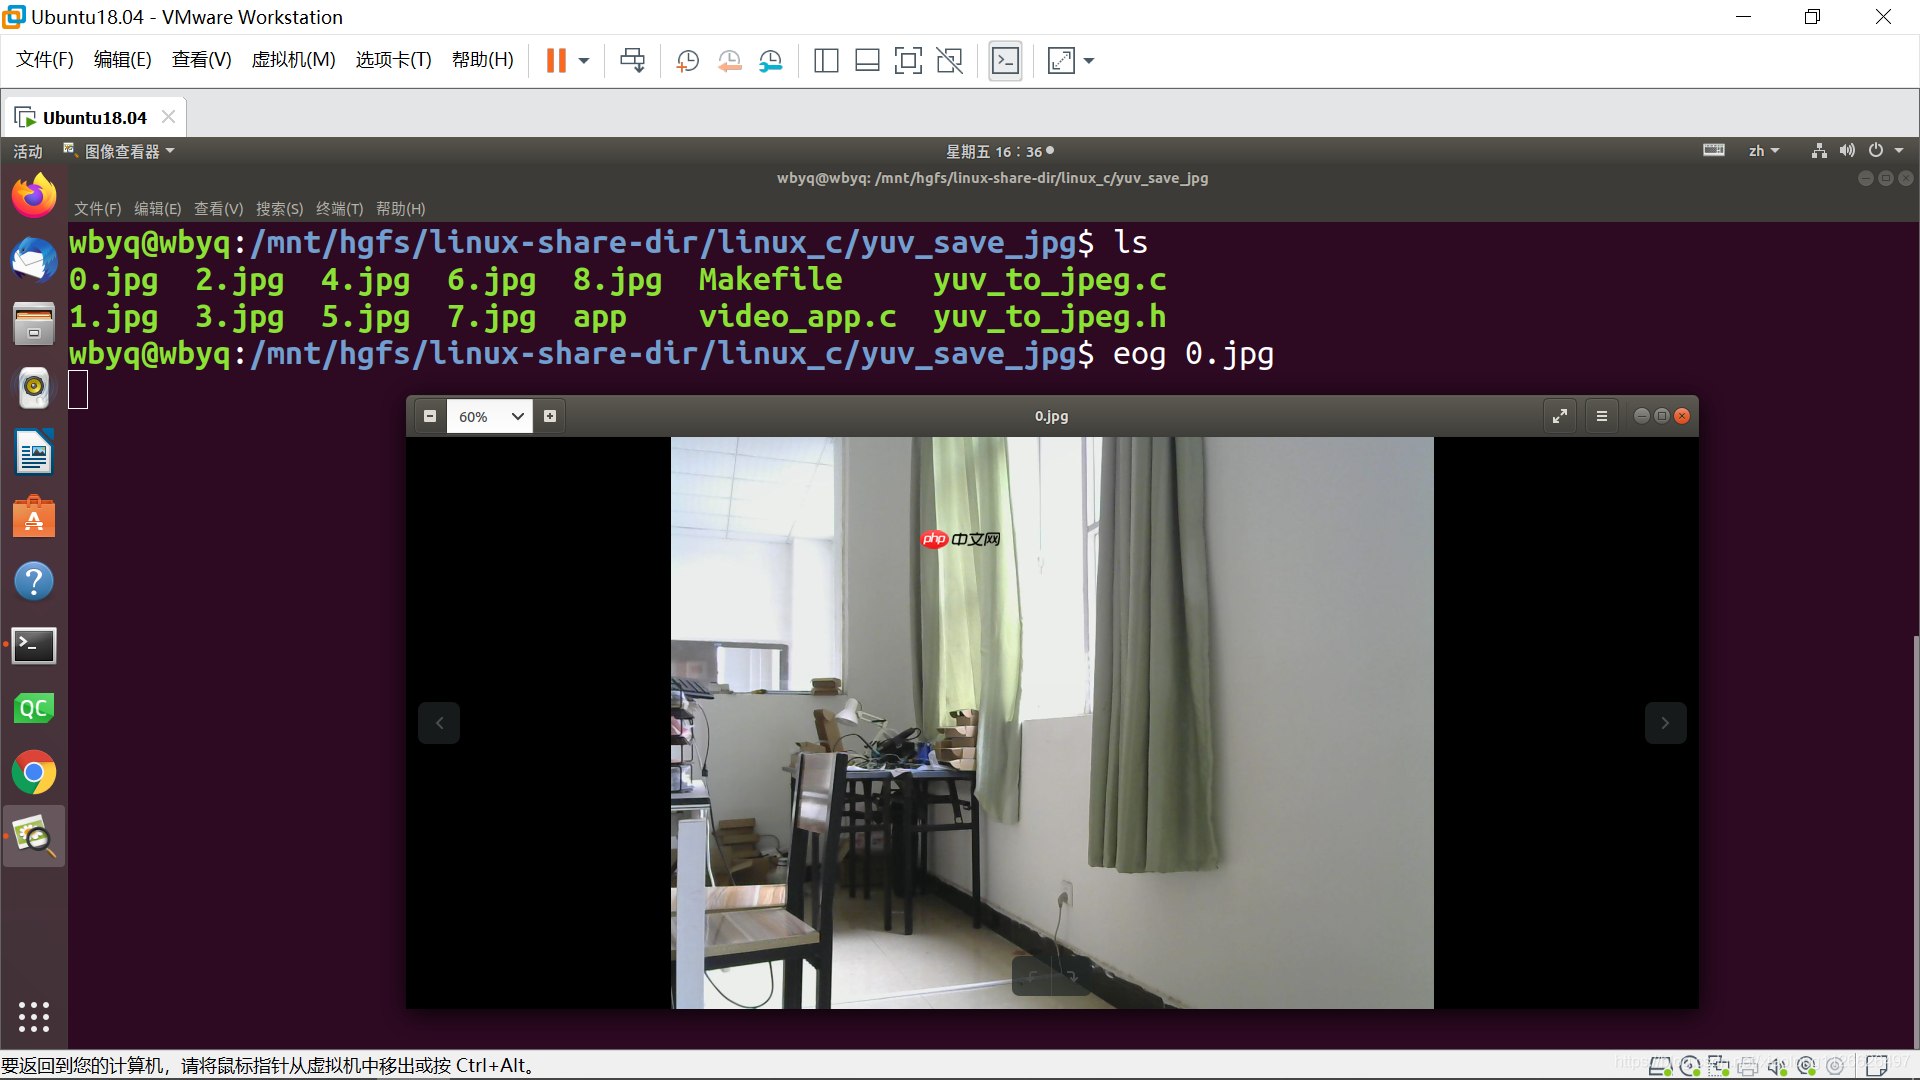
代码语言:javascript代码运行次数:0运行复制<code class="javascript">wbyq@wbyq:/mnt/hgfs/linux-share-dir/linux_c/yuv_save_jpg$ makegcc video_app.c yuv_to_jpeg.c -o app -ljpegvideo_app.c: In function ‘main’:video_app.c:190:33: warning: format ‘%X’ expects argument of type ‘unsigned int’, but argument 3 has type ‘unsigned char *’ [-Wformat=] printf("image_buffer[%d]=%X\n",video_buffer.index,image_buffer[video_buffer.index]); ~^ ~~~~~~~~~~~~~~~~~~~~~~~~~~~~~~~~ %hhnwbyq@wbyq:/mnt/hgfs/linux-share-dir/linux_c/yuv_save_jpg$ ./app ./app: error while loading shared libraries: libjpeg.so.9: cannot open shared object file: No such file or directorywbyq@wbyq:/mnt/hgfs/linux-share-dir/linux_c/yuv_save_jpg$ sudo find / -name libjpeg.so.9find: ‘/run/user/1000/gvfs’: 权限不够/home/wbyq/work_pc/jpeg-9d/.libs/libjpeg.so.9/usr/local/lib/libjpeg.so.9wbyq@wbyq:/mnt/hgfs/linux-share-dir/linux_c/yuv_save_jpg$ export LD_LIBRARY_PATH=$LD_LIBRARY_PATH:/usr/local/lib/wbyq@wbyq:/mnt/hgfs/linux-share-dir/linux_c/yuv_save_jpg$ ./app ./app </dev/videoX>wbyq@wbyq:/mnt/hgfs/linux-share-dir/linux_c/yuv_save_jpg$ ./app /dev/video0 摄像头打开成功.当前摄像头支持输出的图像格式如下:<'YUYV'--'YUYV 4:2:2'><'MJPG'--'Motion-JPEG'>摄像头实际输出的图像尺寸:x=1280,y=960当前摄像头支持YUV格式图像输出!设置当前摄像头采集帧率: 1秒30帧当前摄像头实际采集帧率: 2秒15帧摄像头缓冲区申请的数量: 4VideoDeviceInit=0image_buffer[0]=4C129000图片名称:0.jpg,字节大小:135722image_buffer[1]=4BED1000图片名称:1.jpg,字节大小:135722image_buffer[2]=4BC79000图片名称:2.jpg,字节大小:135722image_buffer[3]=4BA21000图片名称:3.jpg,字节大小:135722image_buffer[0]=4C129000图片名称:4.jpg,字节大小:132494image_buffer[1]=4BED1000图片名称:5.jpg,字节大小:132494image_buffer[2]=4BC79000图片名称:6.jpg,字节大小:132494image_buffer[3]=4BA21000图片名称:7.jpg,字节大小:132494image_buffer[0]=4C129000图片名称:8.jpg,字节大小:126119image_buffer[1]=4BED1000图片名称:9.jpg,字节大小:126119image_buffer[2]=4BC79000图片名称:10.jpg,字节大小:126119image_buffer[3]=4BA21000图片名称:11.jpg,字节大小:126119</code>程序停止,可以按下Ctrl+C。
下面图片是采集的效果。
以上就是Linux下采集摄像头的图像再保存为JPG图片存放到本地(YUYV转JPG)的详细内容,更多请关注php中文网其它相关文章!

每个人都需要一台速度更快、更稳定的 PC。随着时间的推移,垃圾文件、旧注册表数据和不必要的后台进程会占用资源并降低性能。幸运的是,许多工具可以让 Windows 保持平稳运行。

Copyright 2014-2025 https://www.php.cn/ All Rights Reserved | php.cn | 湘ICP备2023035733号


 137
137