这次给大家带来unittest+coverage怎么进行单元测试覆盖,unittest+coverage进行单元测试覆盖的注意事项有哪些,下面就是实战案例,一起来看一下。
基于上一篇文章,这篇文章是关于使用coverage来实现代码覆盖的操作实例,源代码在上一篇已经给出相应链接。
本篇文章字用来实现代码覆盖的源代码,整个项目的测试框架如下:

就是在源代码的基础上加了一个CodeCover.py文件,执行该文件会在目录CoverageReport生成相应的覆盖报告。如下是CodeCover.py的源码:
#coding=utf8
import os
import time
def findTestWithPath():
current_dir=os.getcwd()
folderName=os.listdir(current_dir)
#print folderName
#获取到测试文件所在目录
TestSuit=[suite for suite in folderName if not suite.find("TestSuit")]
#用来保存测试文件
testfile=[]
withPathFile=[]
for suite in TestSuit:
#获取测试目录下的所有测试文件
testfile=testfile+os.listdir(".\"+suite)
for withPath in testfile:
withPath=current_dir+"\"+suite+"\"+withPath
withPathFile.append(withPath)
del testfile
#把testfile中的py文件挑选出来
withPathFile=[name for name in withPathFile if not "pyc" in name]
#print testfile
print withPathFile
return withPathFile
def codeCoverage():
now = time.strftime("%Y%m%d%H%M")
htmlReport=os.getcwd()+"\"+"CoverageReport"
htmlCmd="coverage html -d " + htmlReport +"\"+now
for pyfile in findTestWithPath():
runPyCmd="coverage run " + pyfile
if os.path.exists(htmlReport) :
os.system(runPyCmd)
os.system(htmlCmd)
else:
os.mkdir(htmlReport)
os.system(runPyCmd)
os.system(htmlCmd)
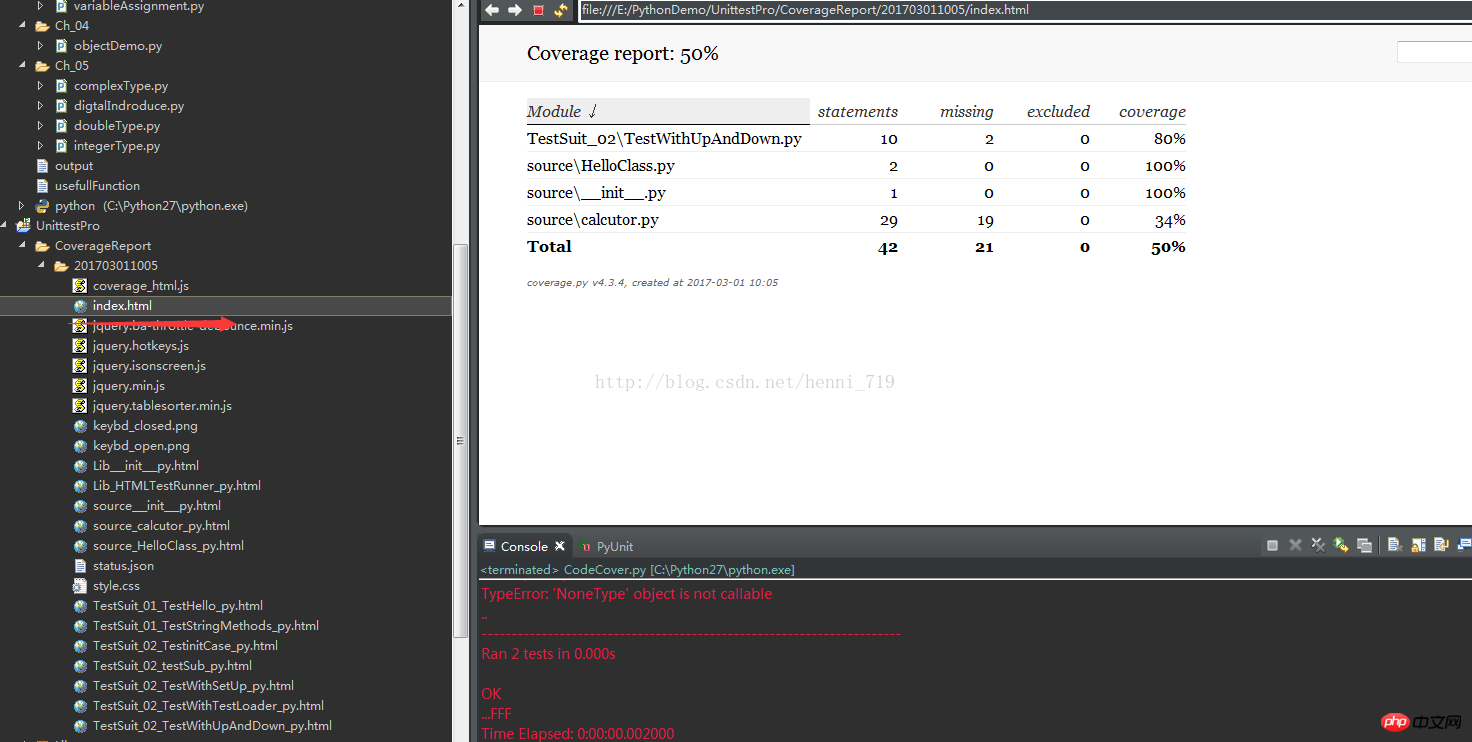
if name=="main":
codeCoverage()运行结果图:
相信看了本文案例你已经掌握了方法,更多精彩请关注php中文网其它相关文章!
推荐阅读:
以上就是unittest+coverage怎么进行单元测试覆盖的详细内容,更多请关注php中文网其它相关文章!

每个人都需要一台速度更快、更稳定的 PC。随着时间的推移,垃圾文件、旧注册表数据和不必要的后台进程会占用资源并降低性能。幸运的是,许多工具可以让 Windows 保持平稳运行。

 广告
广告


Copyright 2014-2025 https://www.php.cn/ All Rights Reserved | php.cn | 湘ICP备2023035733号


 296
296


